

Planning a Malaysian Indian wedding rarely means planning just one day.
There may be an engagement ceremony, family traditions, pre-wedding celebrations, religious ceremonies, a reception and several smaller moments connecting everything together.
Each event brings its own decisions, people, outfits, vendors and deadlines.
And when everything lives in different WhatsApp chats, notebooks, screenshots and mental reminders, even a beautiful wedding can begin to feel like an enormous project.
A wedding checklist gives all of those moving pieces somewhere to belong.
But there is one important thing to remember before you begin:
Your wedding does not have to follow this timeline exactly.
Some couples plan for more than a year. Others organise their wedding within a few months. Ceremonies and customs vary between families, communities and religious traditions, and vendor availability may change the order in which you make certain decisions.
Use this guide as a framework.
Move things earlier when you need to. Remove anything that doesn't apply to your celebration. Add the traditions and responsibilities that matter to your families.
The goal isn't to follow the perfect wedding timeline.
It's to create one that works for yours.
12+ Months Before: Build the Foundation
If you have a year or more before your wedding, this is your opportunity to establish the big picture without needing to solve every detail immediately.
Start with the conversations that shape everything else.
Your early wedding checklist
- Discuss the kind of wedding you both want
- Talk with both families about important traditions
- Identify the ceremonies and celebrations you expect to have
- Discuss potential wedding dates
- Speak with your priest, temple or religious representative where relevant
- Establish an overall wedding budget
- Discuss family financial contributions, if applicable
- Create an initial guest list
- Estimate guest numbers for each event
- Begin researching ceremony and reception venues
- Decide which wedding elements matter most to you
- Start a central place for wedding notes, ideas and important information
If an auspicious date or religious timing is important to your family, establish that early. It may influence venue and vendor availability.
This is also a good time to think about whether your wedding celebrations will happen on one day, across a weekend or over several different dates.
You don't need every detail yet.
You need the structure.
9–12 Months Before: Secure the Big Pieces
Once your date, approximate guest count and budget are becoming clearer, begin confirming the parts of the wedding that are most dependent on availability.
Popular venues and vendors may accept bookings well in advance, especially for sought-after dates.
Your checklist
- Confirm your wedding date
- Book the ceremony location or temple where applicable
- Book the reception venue
- Confirm major ceremony requirements
- Research and shortlist photographers and videographers
- Research decorators and florists
- Research caterers where catering isn't included
- Research makeup artists and hairstylists
- Consider entertainment, musicians or an emcee
- Compare vendor packages carefully
- Review contracts and cancellation terms
- Record deposits and future payment dates
- Begin thinking about wedding colours and overall visual direction
Try not to book vendors simply because everyone else seems to use them.
Look for people whose work, communication and package genuinely suit your celebration.
This is also where your wedding begins changing from an idea into a calendar of real commitments.

8–10 Months Before: Begin Your Wedding Look
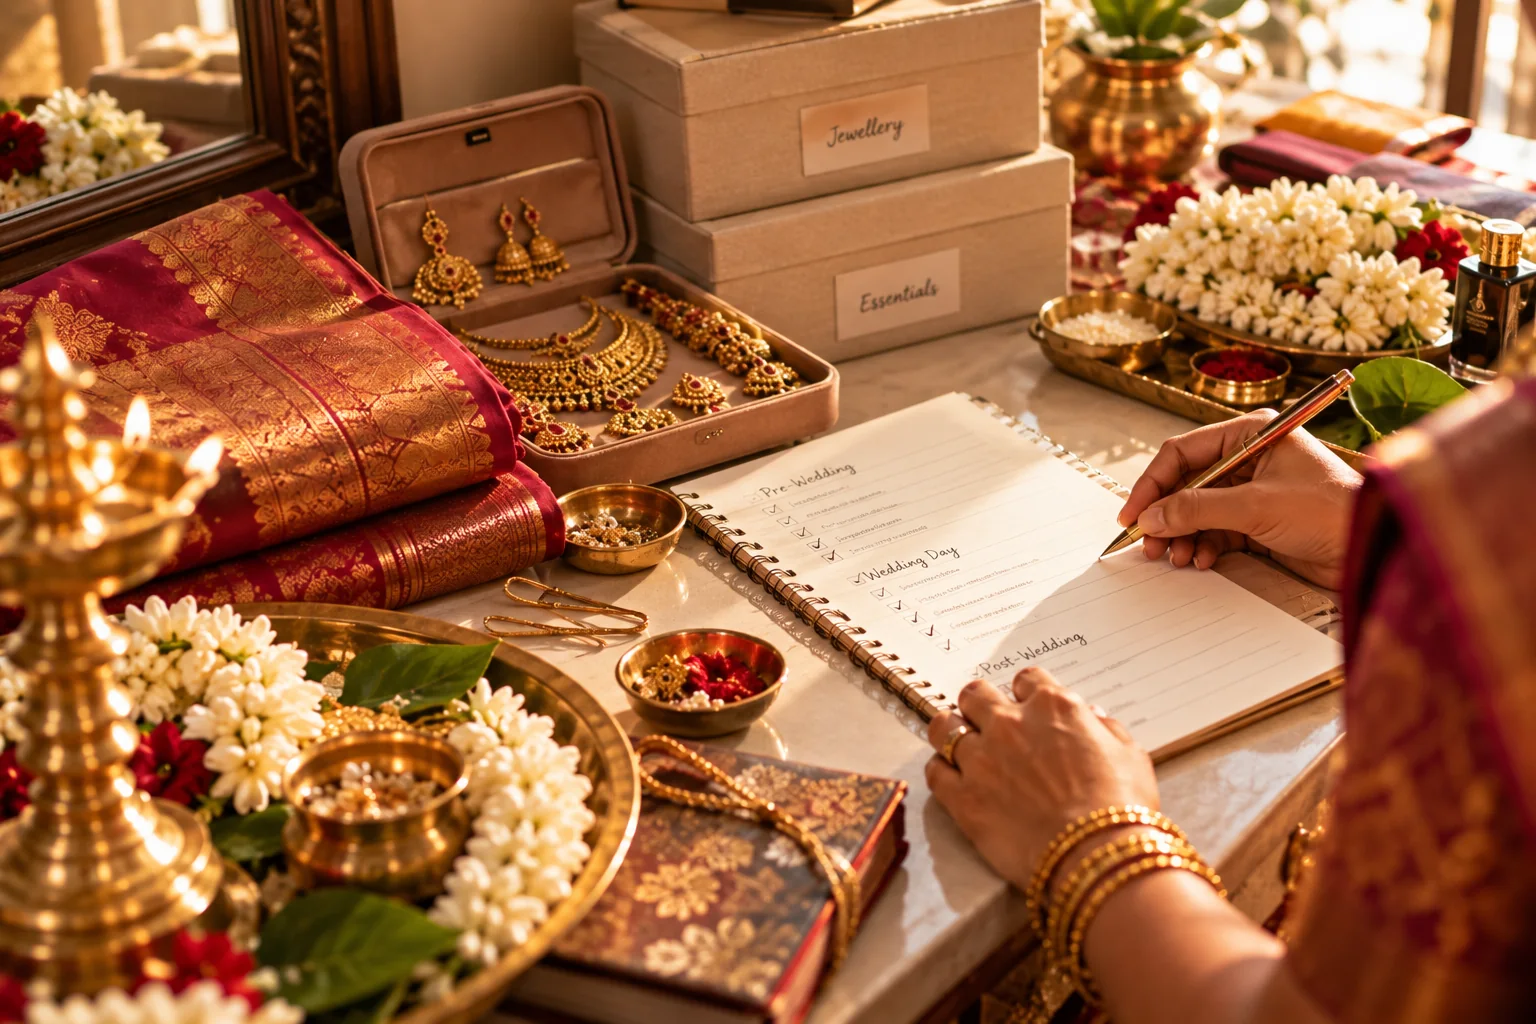
Indian wedding attire can require more preparation than buying a single wedding outfit.
Depending on your celebrations, you may need different looks for an engagement, pre-wedding ceremonies, the wedding and reception.
Custom pieces also need time for ordering, tailoring and alterations.
Your checklist
- List the outfits needed for each event
- Begin bridal outfit shopping
- Begin groom's attire planning
- Consider outfits for important family members where relevant
- Plan jewellery for each look
- Decide which jewellery pieces can be reused
- Choose shoes and accessories
- Research hair and makeup styles
- Book beauty professionals if not already confirmed
- Discuss makeup trials
- Schedule tailoring and alteration timelines
- Save visual references for each event
Try to plan complete looks rather than buying individual pieces without considering how they work together.
A beautiful outfit becomes much easier to style when jewellery, shoes, hair and makeup have been considered alongside it.
6–9 Months Before: Shape the Guest Experience
By now, your approximate guest list should begin becoming more accurate.
This is the stage where you can think beyond simply who is coming and start considering how guests will experience the celebration.
Your checklist
- Review the master guest list with both families
- Confirm which guests are invited to which events
- Check names and contact information
- Begin collecting missing addresses or phone numbers
- Consider accessibility needs for elderly or disabled guests
- Think about transport or parking requirements
- Begin planning accommodation information for travelling guests where needed
- Review venue capacity against your current numbers
- Consider seating requirements
- Update catering estimates as numbers become clearer
If your wedding includes several events, don't assume every guest needs to attend every celebration.
Your guest lists can be organised separately while still being managed together.
5–7 Months Before: Start Your Wedding Invitations
Once your date, venues and major event details are confirmed, you can begin developing your invitations.
Don't leave this until the moment you want to send them.
Good invitation design needs time for gathering information, reviewing names and wording, developing the visual direction and making revisions.
Printed invitations also require production time.
Your checklist
- Gather the exact names that should appear
- Confirm ceremony dates and times
- Confirm venue names and addresses
- Decide which events need to be included
- Decide between printed invitations, digital invitations or both
- Choose your invitation style
- Prepare wording
- Review cultural and family wording requirements
- Check spelling carefully
- Have both families review important information
- Approve the final design
- Allow time for printing if applicable
- Prepare the final distribution list
Your invitation is one of the first parts of the wedding your guests will experience.
It should tell them what they need to know while also beginning to communicate the feeling of the celebration ahead.
At Riya Invites, we believe that first impression deserves the same thoughtfulness as everything that follows.
4–6 Months Before: Plan the Details Behind Each Ceremony
As the major bookings settle into place, turn your attention to what each individual ceremony actually requires.
This is particularly important when you're planning several traditional events.
Your checklist
- Create a separate plan for every ceremony
- Confirm the purpose and sequence of each ceremony with your family
- Speak with the priest or religious representative about requirements
- List ceremonial items that need to be prepared
- Identify who is responsible for each item
- Confirm which family members participate in particular moments
- Note outfit changes between events
- Confirm ceremony-specific décor
- Confirm food requirements where relevant
- Add important ceremony timings to your schedule
- Identify anything that needs to be transported between locations
Do not assume somebody else is taking care of something simply because it is traditionally present.
Assigning responsibility is much safer than discovering on the morning of the ceremony that three people thought a fourth person was bringing it.
3–4 Months Before: Turn Plans Into Tasks
At this point, wedding planning can start becoming surprisingly fragmented.
One vendor needs a confirmation.
An outfit needs another fitting.
Someone needs to collect something.
A payment is due.
A family member needs an answer.
This is where a proper task list becomes much more useful than trying to remember everything.
Your checklist
- Write down every outstanding wedding task
- Give each task a deadline
- Identify tasks that depend on another decision
- Assign responsibilities where appropriate
- Review outstanding vendor payments
- Schedule remaining fittings
- Confirm beauty trials
- Review décor details
- Finalise stationery requirements
- Plan wedding favours or gifts if having them
- Review transport arrangements
- Check accommodation needs
- Begin listing items needed on each wedding day
Break large tasks into smaller actions.
“Finish wedding invitations” is vague.
“Confirm wording”, “approve design”, “send guest quantity” and “collect printed invitations” are much easier to complete.
2–3 Months Before: Confirm, Order and Follow Up
Your wedding should now be taking a recognisable shape.
This stage is less about discovering what you want and more about making sure the things you've chosen are progressing properly.
Your checklist
- Send or distribute invitations according to your chosen timeline
- Begin tracking RSVPs
- Follow up on outstanding guest information
- Confirm menu or catering details
- Confirm décor direction
- Review photography requirements
- Discuss important photographs with your photographer
- Confirm entertainment details
- Order or prepare ceremony items
- Confirm wedding favours or gifts
- Complete major outfit fittings
- Confirm accessories
- Confirm transport bookings
- Review vendor payment schedules
- Check whether any booking still lacks written confirmation
If something important still exists only as a verbal conversation, this is a good time to get the details written down.
1–2 Months Before: Build the Wedding-Day Timeline
Now the individual pieces need to become one coordinated schedule.
Start with the moments that cannot move easily—religious timings, ceremony start, venue access and reception timing—and build around them.
Your checklist
- Confirm ceremony start and end times
- Confirm venue access times
- Add hair and makeup start times
- Allow time for dressing
- Add photography and portrait sessions
- Record vendor arrival times
- Include décor setup
- Include family arrival times
- Include travel between venues
- Add ceremony preparation time
- Add reception entrance timing
- Add speeches, performances or formalities
- Add meal-service timing
- Add outfit changes
- Add important traditional moments
- Add realistic buffers between activities
- Share relevant timings with vendors and family members
Avoid creating a timeline where one ten-minute delay ruins the rest of the day.
Indian weddings involve people, clothing changes, ceremonies, photographs and family.
Give the schedule room to breathe.
3–4 Weeks Before: Move Into Confirmation Mode
With the wedding approaching, resist the temptation to keep adding new ideas.
This is the time to confirm what you've already planned.
Your checklist
- Review RSVPs
- Follow up with guests who haven't responded
- Give updated numbers to relevant vendors
- Review seating arrangements if required
- Confirm all vendor bookings
- Confirm vendor arrival times
- Review outstanding balances
- Confirm final outfit fittings
- Check jewellery and accessories
- Confirm makeup and hair timings
- Confirm transport
- Confirm accommodation where relevant
- Review ceremony requirements again
- Prepare gifts and favours
- Review your wedding timeline with key people
If a family member or friend is helping with a responsibility on the wedding day, make sure they know exactly what they're doing.
“Can you help with the ceremony?” is unclear.
“Please bring these three ceremony items to the temple and give them to this person before 8:00am” is useful.
1–2 Weeks Before: Prepare Everything You Can
The closer the wedding gets, the fewer decisions you should need to make.
Your checklist
- Confirm final guest numbers
- Complete remaining payments due before the wedding
- Prepare vendor payment information for balances due later
- Collect outfits
- Check every outfit completely
- Check jewellery and accessories
- Break in wedding shoes if needed
- Prepare ceremony items
- Label items by event
- Pack anything travelling to the venue
- Prepare an emergency kit
- Confirm transport one final time
- Send the final timeline to relevant vendors
- Share important contact numbers
- Delegate wedding-day questions to trusted people
- Get some rest
This is also a good moment to stop carrying the entire wedding in your own head.
Other people can help.
Let them.
The Day Before
The day before your wedding is not the ideal time to redesign your seating plan, add another décor element or begin a completely new DIY project.
Your job now is to prepare yourself for the celebration.
Your checklist
- Confirm that outfits and accessories are together
- Make sure ceremony items are with the right person
- Charge phones and necessary devices
- Keep important documents somewhere safe
- Confirm your immediate morning schedule
- Check transport arrangements
- Give vendor questions to your designated contact where possible
- Eat properly
- Drink water
- Try to sleep
Something may still change.
That's okay.
You have already done the important work.
The Wedding Day
You do not need another enormous checklist today.
You need a few essentials.
Remember to:
- Eat something
- Stay hydrated
- Give yourself enough time to get ready
- Keep essential personal items nearby
- Let your designated people handle logistics
- Follow the ceremony rather than watching the clock
- Take photographs
- Take a moment with your partner
- Look around the room
- Enjoy the people who came to celebrate with you
You may notice something that didn't happen exactly as planned.
Let it go if you can.
Your guests didn't spend months studying your planning notes.
They don't know what was “supposed” to happen.
They only know the wedding they're experiencing.
Be there with them.
After the Wedding
The planning doesn't disappear the moment the celebration ends, but thankfully the list becomes much shorter.
Your final checklist
- Settle any remaining vendor balances
- Return hired or borrowed items
- Store wedding outfits and jewellery appropriately
- Organise gifts
- Send thank-you messages where appropriate
- Review photography and video delivery timelines
- Save important wedding documents
- Keep meaningful stationery or ceremony pieces you want to preserve
- Back up photographs when you receive them
- And finally—close the wedding checklist
You finished it.
Our Wedding Planner by Riya Invites
One Wedding. Many Moving Pieces. One Place for Them.
A checklist is useful because it turns a wedding from one enormous project into a series of manageable decisions.
But when you're planning several ceremonies, keeping the checklist connected to everything else becomes even more important.
Our Wedding Planner by Riya Invites is designed to bring those pieces together.
Keep your tasks alongside your vendors.
Your ceremonies alongside your timeline.
Your guest list alongside the celebrations you're inviting them to.
And your wedding-day schedule alongside all the details that made it possible.
Planning doesn't need to mean remembering everything at once.
It means knowing where to find what matters when you need it.
Our Wedding Planner by Riya Invites—coming soon.